Making leather wallets and cardholders: beginner’s guide
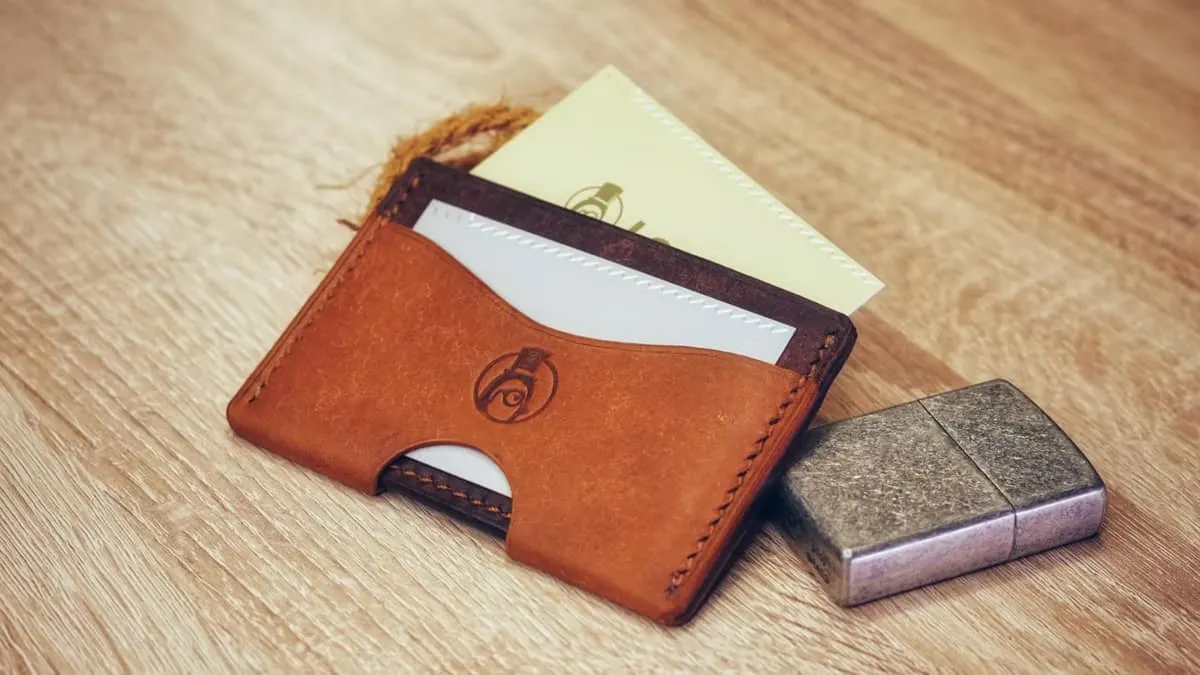
You want to start making leather wallets or cardholders, and do not know where to start? Here are the tools, the leather and the techniques I would recommend to my younger self.
Why I wrote this guide
You may wonder why a crafter would help a potential competitor. I do not mind healthy competition: I mostly do this for fun, and I learned a lot thanks to the community. This is my way of returning the favour.
I also started by asking myself a lot of questions, and I made plenty of mistakes: tools I did not need, or cheap ones I should have bought better in the first place. Let me help you avoid that. More guides are waiting on the guides page.
See it made
The making of a cardholder, step by step
The essential tools
The first list I refined for you. The goal: avoid low-value pre-made kits, and buy tools you will not hate for the rest of your life.
-
Cutting mat and punching pad
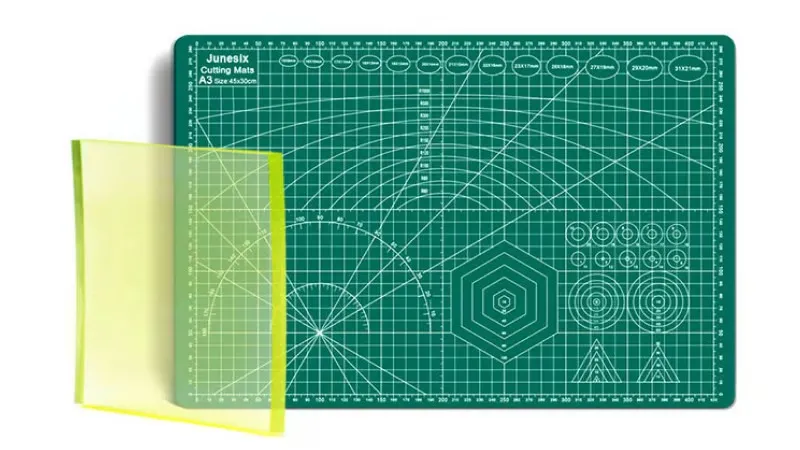
If you punch or cut, you need them, period: you do not want to break your tools or blades. Punch on the pad, cut on the mat. I recommend the A3 size if you have the room.
-
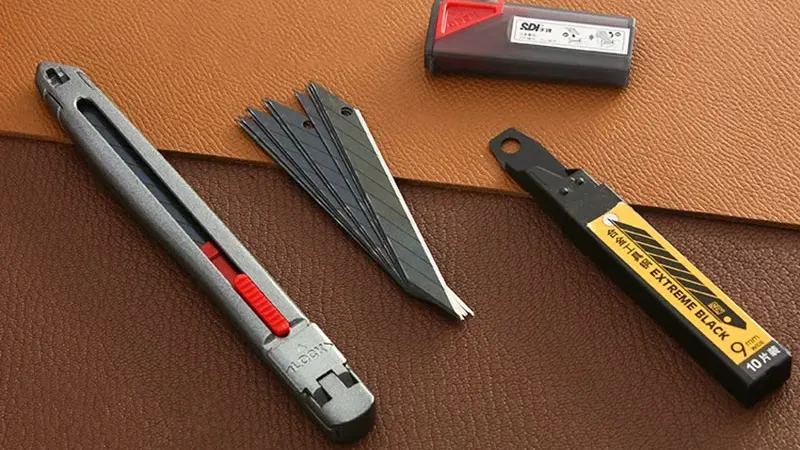
SDI 3006 precision knife
To cut straps or shape an end by hand. After two years of practice, I finally found a knife that is sharp, precise and solid. The blades snap off and are replaceable.
-
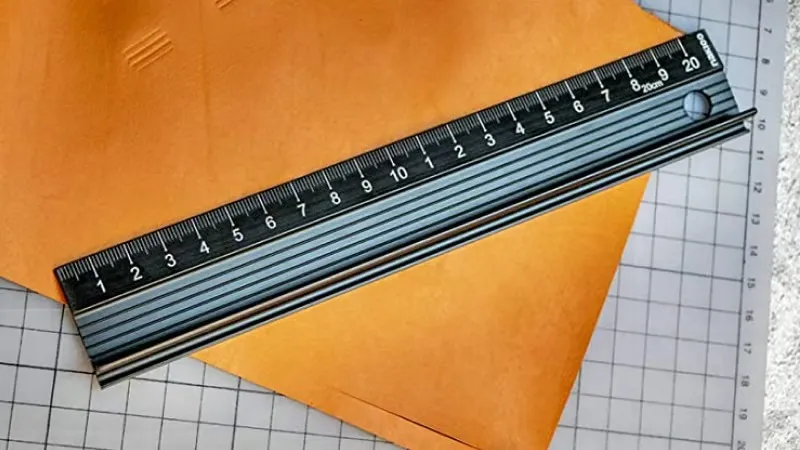
Anti-slip safety ruler
It protects your fingers while you cut, protects your leather, and does not slip.
-
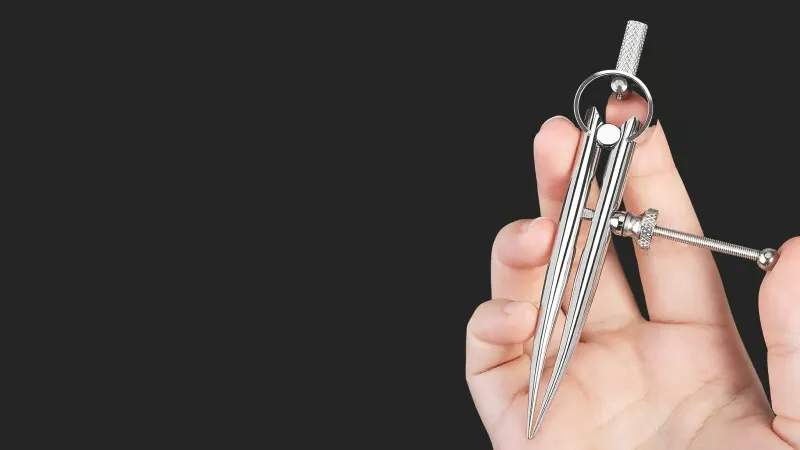
Spacing compass
Draws accurate stitching or trimming lines on all your leather goods. The rounded legs are really handy.
-
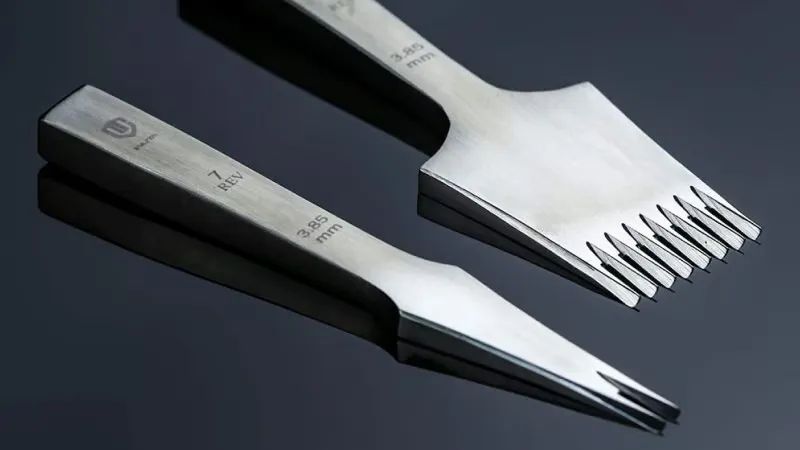
French-style pricking irons
You need to punch holes in the leather before stitching, and these give a French-style stitch. I recommend a set of 2 and 8 prongs at 3.85 mm spacing, the most common.
-
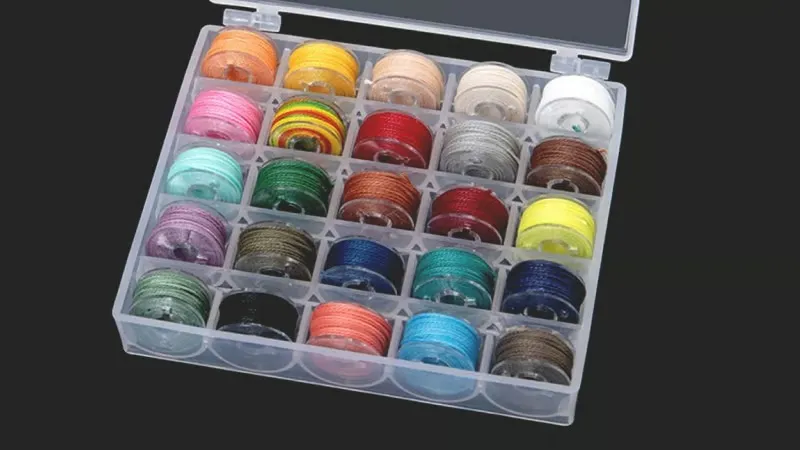
Pack of waxed threads
Start with this pack to play with coloured threads on your leather goods, then buy longer spools when you need them. I recommend 0.45 or 0.55 mm.
-
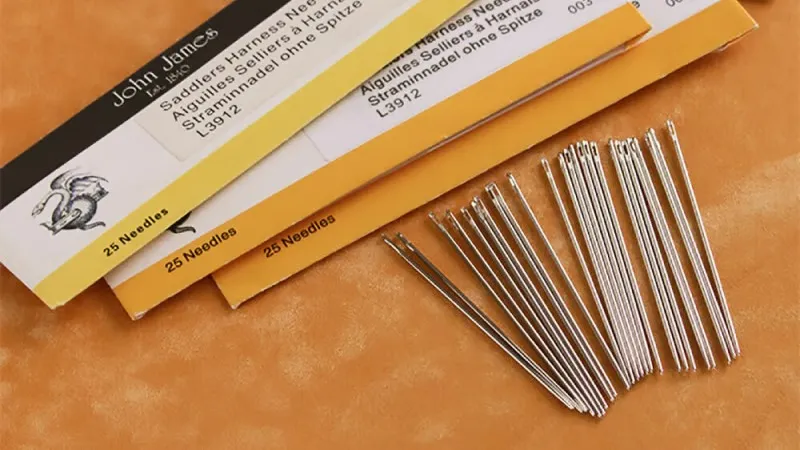
John James needles
My favourite brand. These needles are almost indestructible, and saddle makers use them. I usually take sizes 002 or 004.
-
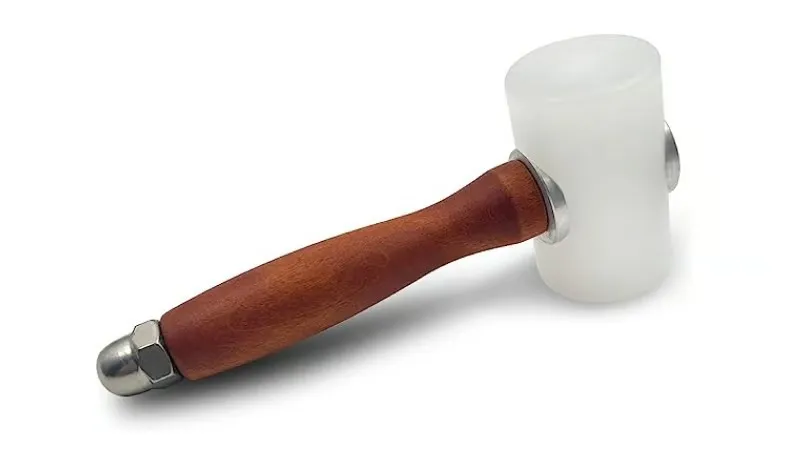
A proper mallet
Made for striking steel tools. It is heavy, so it punches holes without much effort and without damaging your tools.
-
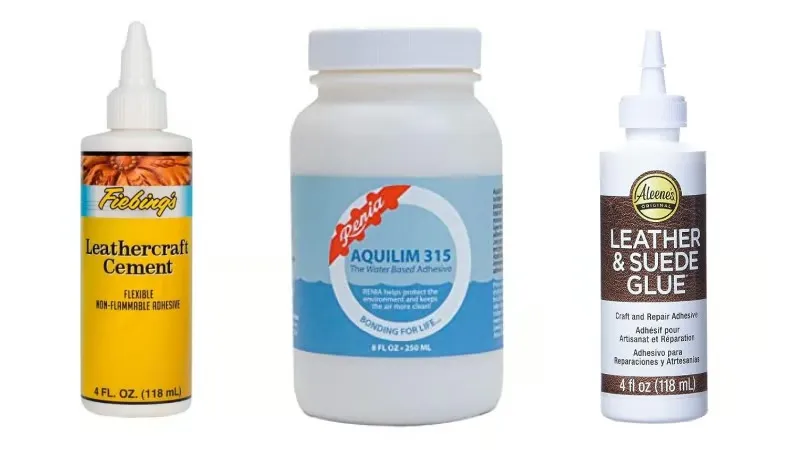
Water-based glue
Many glues work well. Aquilim 315 is one of the best, but it is not available everywhere. I am also happy with the Leather & Suede glue and with Fiebing’s.
-
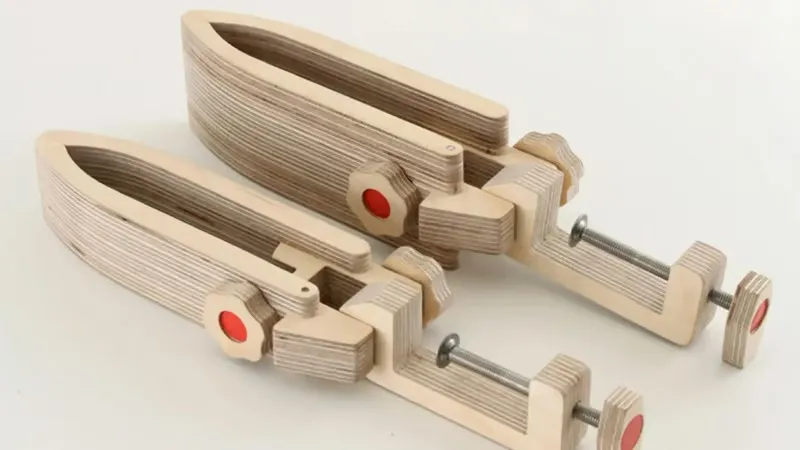
Stitching pony (optional)
I started with one and only later learned to stitch without. I prefer it, but if you are on a budget, try without first.
Tools for perfect edges
Some people like raw edges. I prefer well-finished ones: they are protected, and easy on the eye. These tools help you get cleaner, more professional edges. Watch these videos on burnishing to see them in action.
-
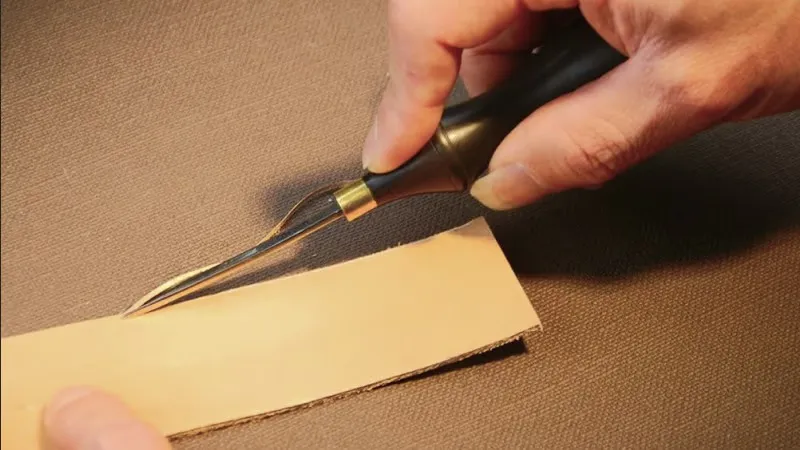
Edge beveler
Essential for smooth, clean and durable edges. I recommend the 0.7 mm and 1.3 mm sizes, but start with the first one if you are on a budget.
-
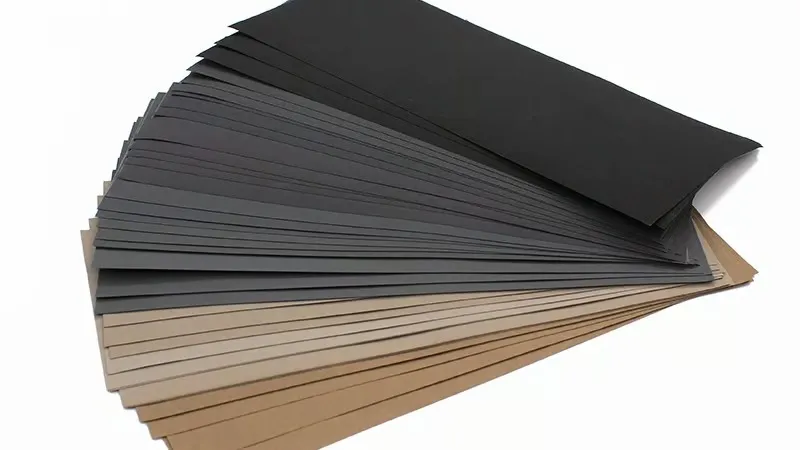
Sanding paper set
No need for every grit: take at least 300, 900 and 2000. They harden and smooth your edges.
-
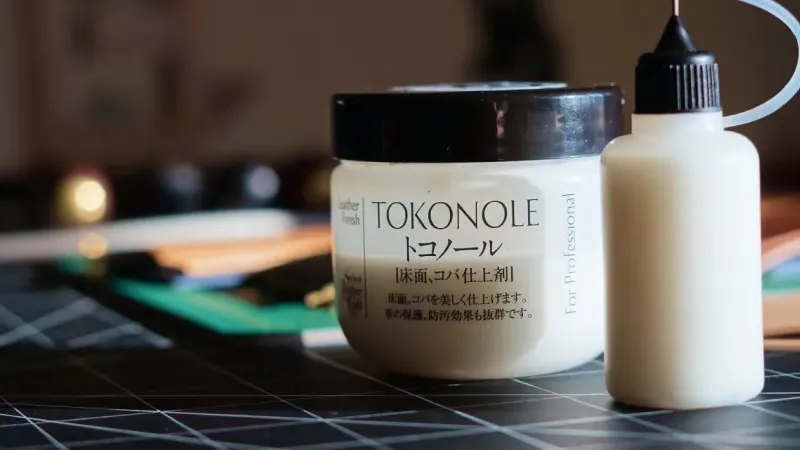
Tokonole burnishing gum
For shiny edges, you cannot do without it: it is the best burnishing gum I know. Start with the white one, which dries clear; it also exists in black.
-
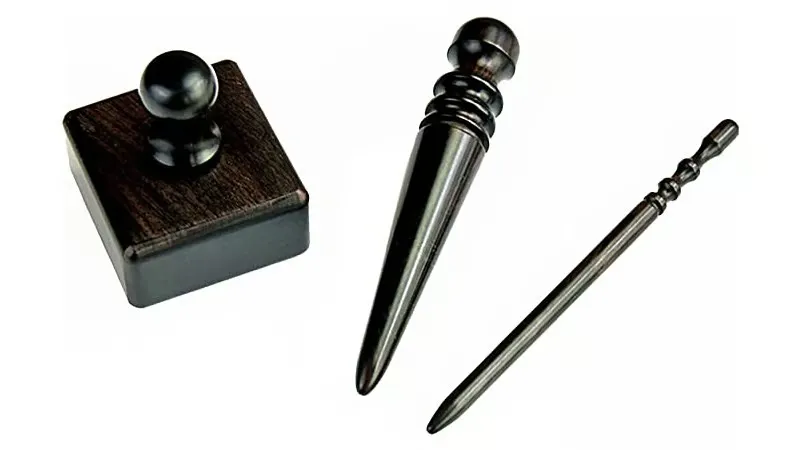
Wooden edge slickers
For shiny edges: you burnish them with slickers of different sizes and uses. I recommend the set.
-
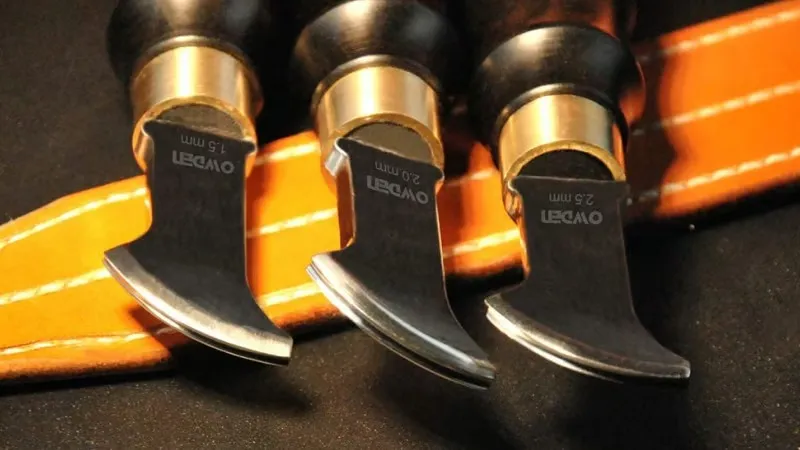
Creasing tool
Optional, but recommended for a professional look: it draws a decorative line along the edges. I use a 2 mm spacing.
-
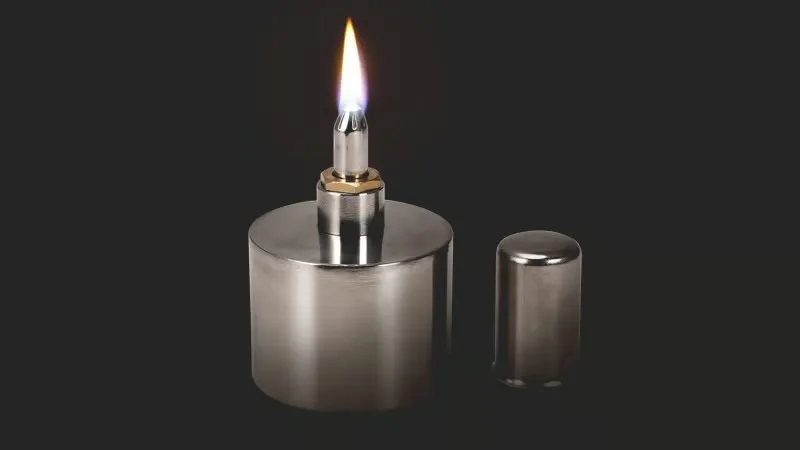
Alcohol burner
For neat decorative lines, warm the creasing tool on this burner before running it on the leather.
-
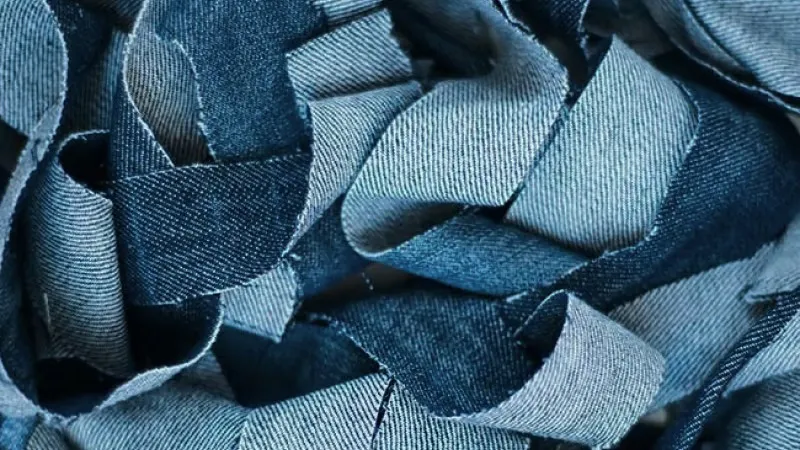
Burnishing cloth
Nothing to buy: an old pair of jeans or a cotton cloth makes a great burnishing cloth.
-
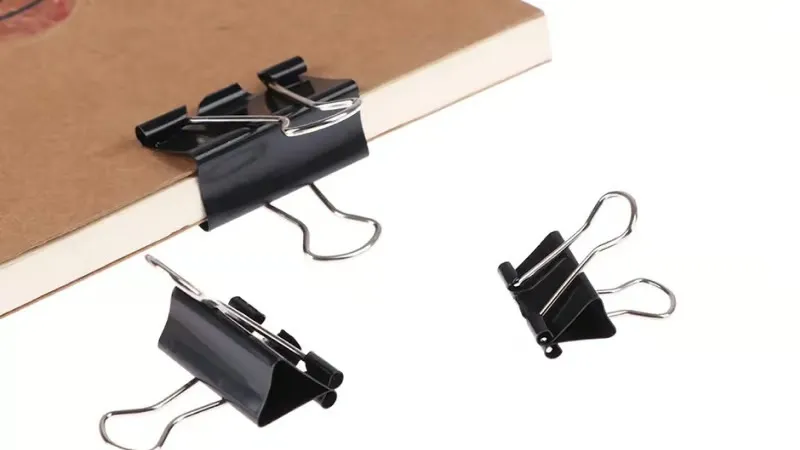
Clamps
They help a lot with clean edges and stronger gluing. Cover the jaws with leather to protect your pieces.
-
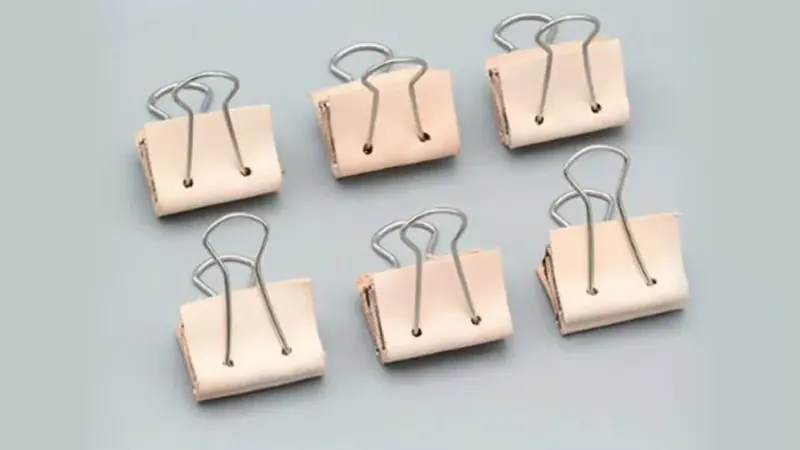
Leather-covered clamps
Covering clamps with leather takes time. If you would rather not, this shop sells them ready-made. I have three sizes and use them all.
-
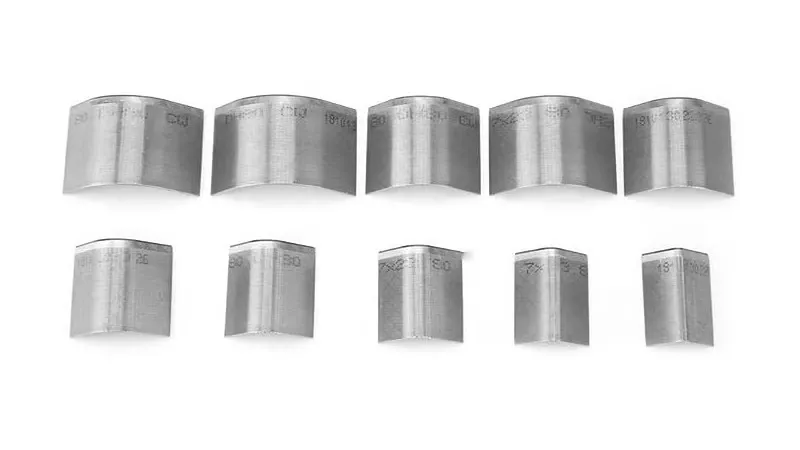
Corner radius blades
For clean rounded corners. You can cut them with a knife, but these small curved blades are really handy.
Which leather should I use?
On a budget, buy a single thickness, around 1.2 or 1.4 mm. The easiest to work with, in my opinion, is a vegetable-tanned leather, medium to firm. To understand why, read types of leather explained.
Look for shops near you first: local sellers usually give the best advice. Otherwise, I am very happy with my two suppliers and partners:
- Buy Leather Online: a wide choice, and they split leather and sell half hides for free. Use the code LORD7.
- Leatherbox: leather panels in several thicknesses, a good way to try different leathers. Use the code LORD10.
More details in where to buy quality leather.
Video playlists to learn
-
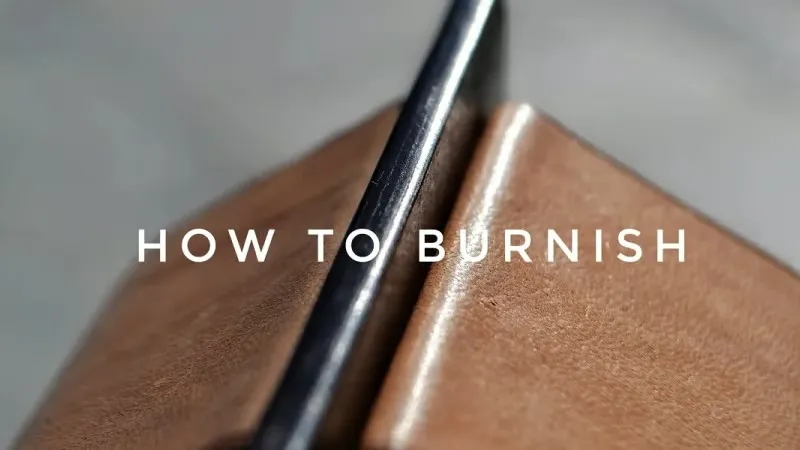
How to burnish edges
Videos on burnishing leather edges, with several techniques, so you can adopt the one that suits your tools and taste. Image by William Cambridge.
-
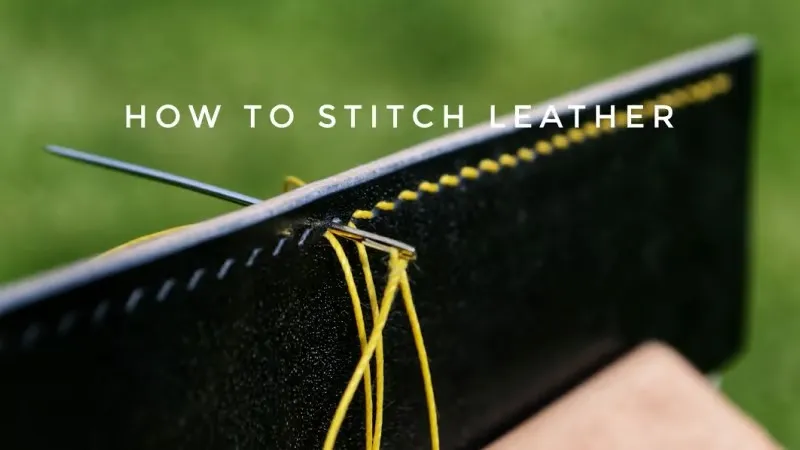
How to stitch leather
If you have a sewing machine, I have nothing to teach you. Otherwise, here are several hand-stitching techniques: try them all. Image by William.
-
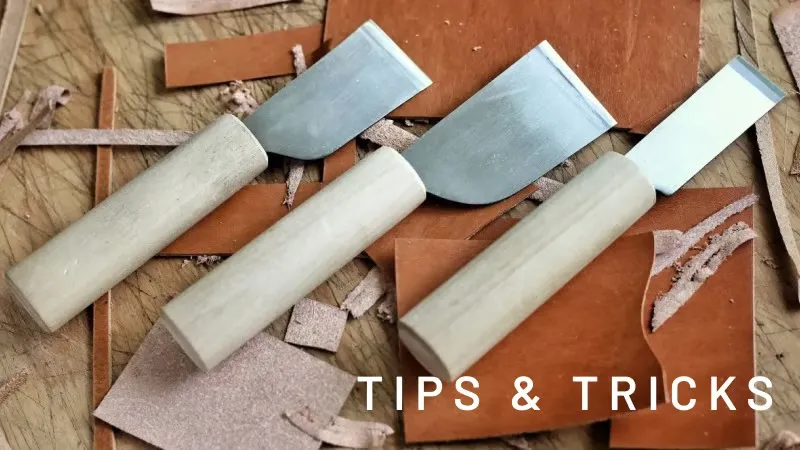
Tips and tricks
Tips from other crafters: techniques that usually take years of experience to understand. Well worth watching. Image by Corter.
Your first wallet and cardholder patterns
There are plenty of patterns out there, and I made my own. Each one comes with the source files, instructions, video tutorials (see my YouTube channel) and product photos.
- Nest, multipurpose cardholder
- Hug, minimalist cardholder
- All cardholder patterns
- All wallet patterns
Questions about wallets and cardholders
What is the best pattern to start leathercraft?
Not easy to answer. Have a look at my belt making guide: a belt takes far fewer steps. Otherwise, I recommend two of my patterns:
- Nest, the multipurpose one: it has several variations, and one of them should suit you.
- Hug: small and quick to make. Make it a few times perfectly, and you will master almost every step.
Once you can make the Nest, you are ready for the whole wallet collection.
Should I buy a starter kit on Amazon or AliExpress?
Even if I link to these platforms, I chose specific tools whose quality I know, because I use them every day. Starter kits, I do not recommend: I bought one, and today I use 2 of its tools out of 24 poor ones. Follow the lists above and pick what makes sense for your budget; many tools also work for other leather goods.