Making a leather belt: beginner’s guide and tools
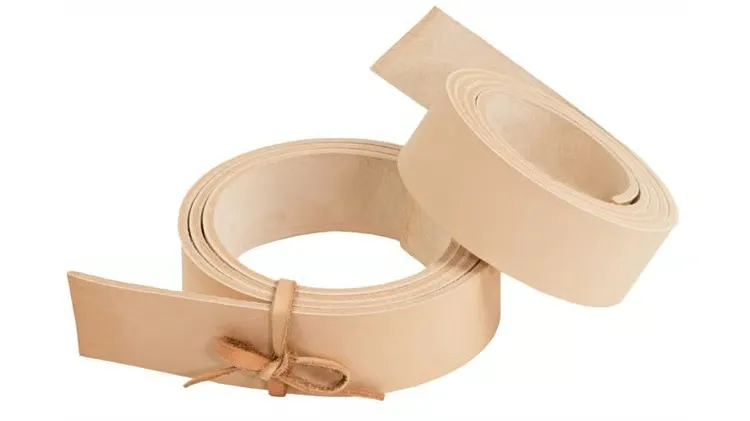
I am often asked what you need to start making belts. Here are the tools, the leather and the hardware I use, sorted by how far you want to go.
What kind of belt maker are you?
As a pragmatic crafter, I know you would not spend a fortune before finding out whether belt making is for you. So I made three lists. I want to make belts:
- at least once, to try: the minimum;
- several times a month: time-saving tools;
- a lot, to build a belt empire.
Some links lead to AliExpress: do not let that put you off, these are the same tools sold in craft shops. I chose them after several failures with other tools, and I can vouch for them. I have tested every tool listed here, except the three Weaver machines, as noted.
Offers from my suppliers
These are professionals I have trusted since I started:
- Buy Leather Online: 7% off with the code LORD7.
- Decocuir: €7 off your first order.
- Leatherbox: for more leather choices, with the code LORD10.
A template to guide you
I designed a template to help you measure, cut and shape a belt. It offers three strap widths and four end styles.
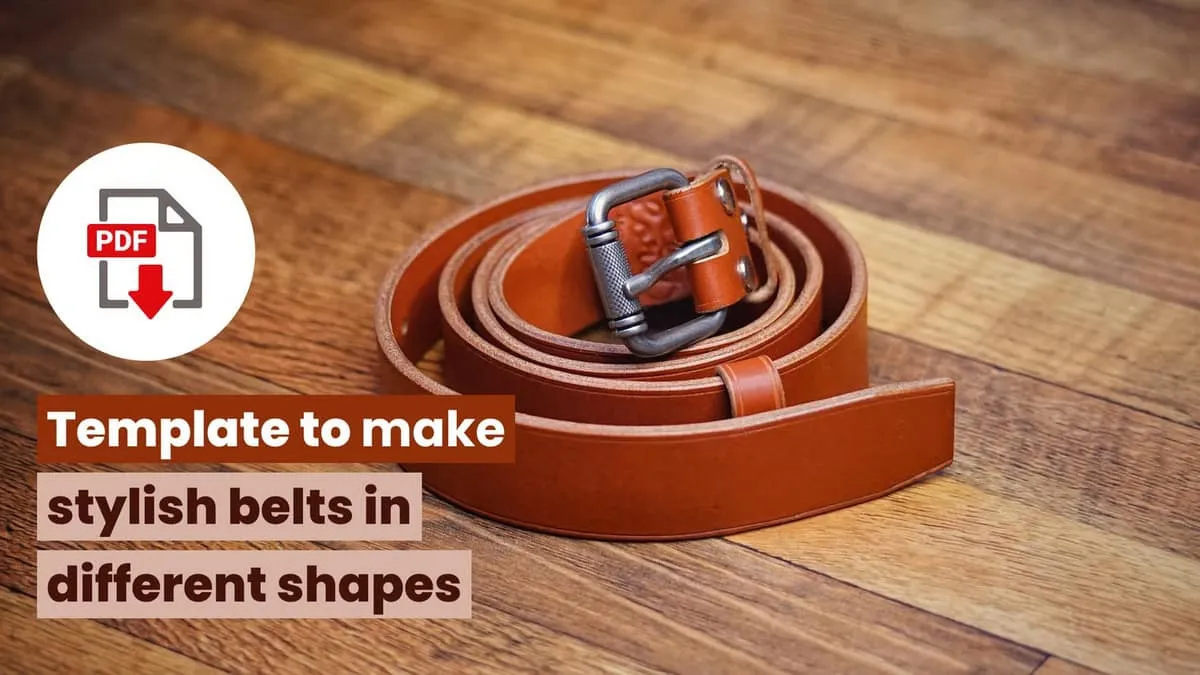
See the belt template on my shop.
The making of my belts
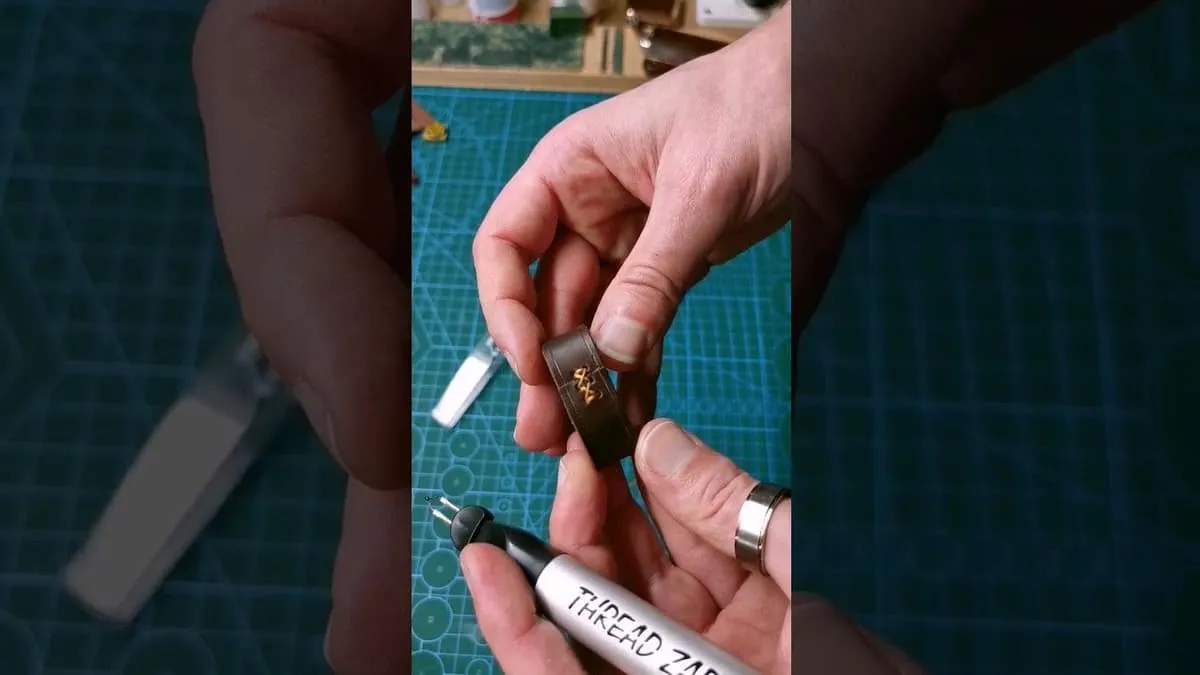
Before the lists, here is how I make a belt, to understand why and how I use some of these tools. You will find more making-of videos on my YouTube channel.
The minimum to make a belt
-
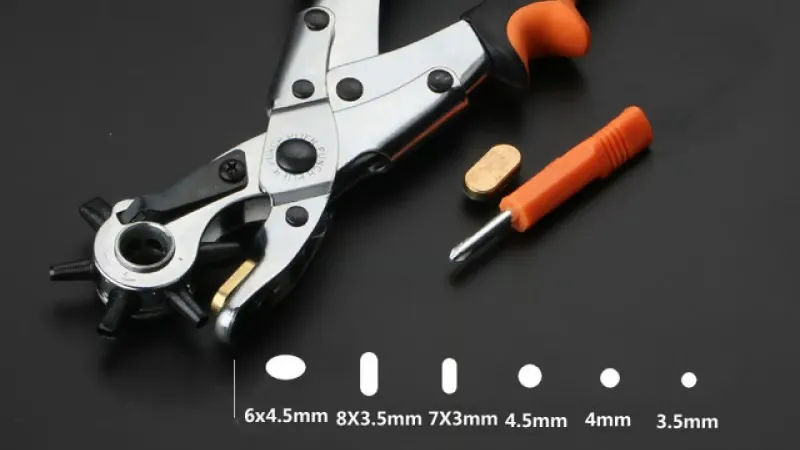
Hand perforator
It comes with several hole shapes, for the buckle hole as well as the prong holes. If you prefer hole punches, see the next tools.
-
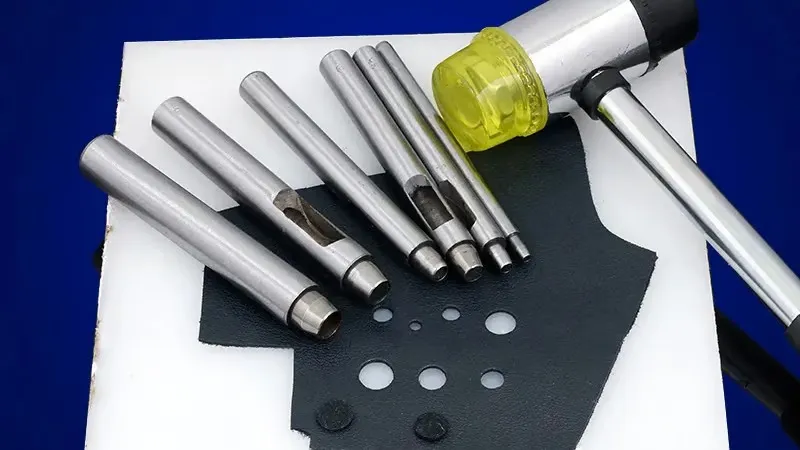
Hole punch set
More freedom to place your holes, where a hand perforator limits the distance from the edge. Both work for belts. I use the 4.5 mm a lot.
-
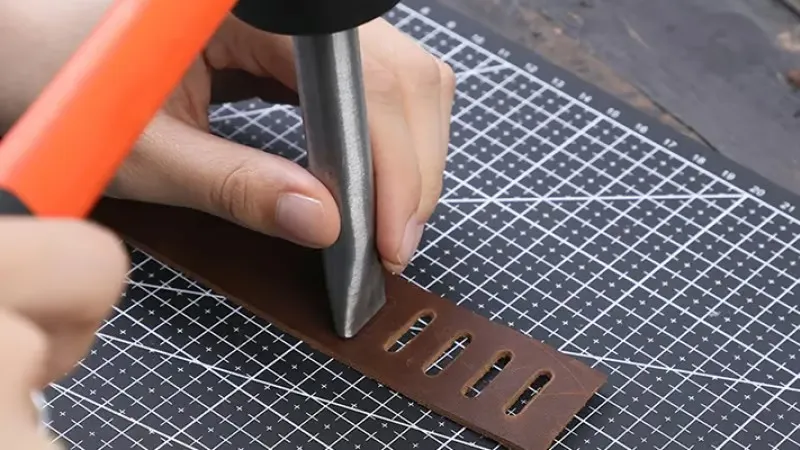
Oval hole punch
For the slot of the prong, the metal part of the buckle that holds the belt. There is no one-size-fits-all, but 4 × 8 mm is a good start.
-
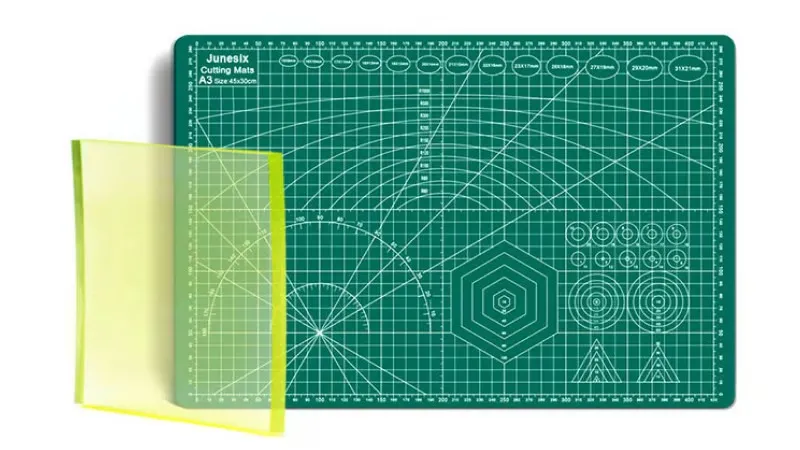
Cutting mat and punching pad
If you punch or cut, you need them, period: you do not want to break your tools or blades. Punch on the pad, cut on the mat. I recommend the A3 size if you have the room.
-
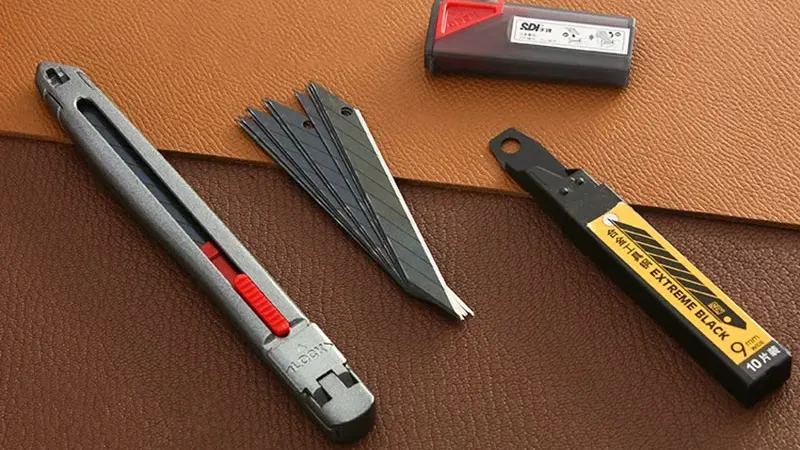
SDI 3006 precision knife
To cut straps or shape an end by hand. After two years of practice, I finally found a knife that is sharp, precise and solid. The blades snap off and are replaceable.
-
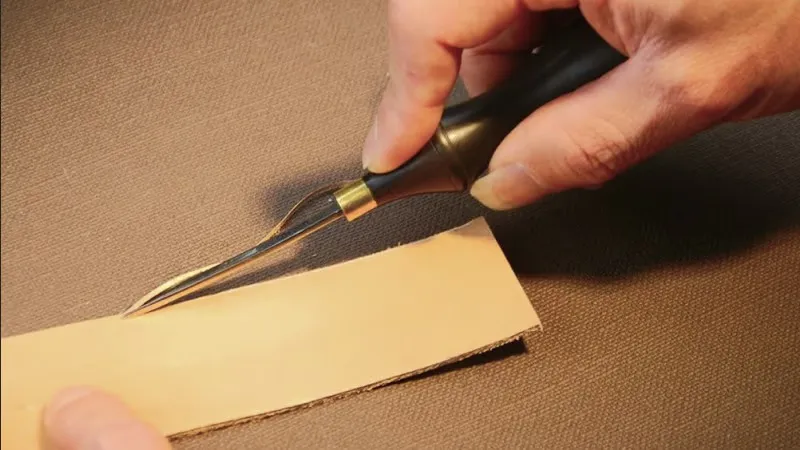
Edge beveler
Essential for smooth, clean and durable edges. I recommend the 0.7 mm and 1.3 mm sizes, but start with the first one if you are on a budget.
-
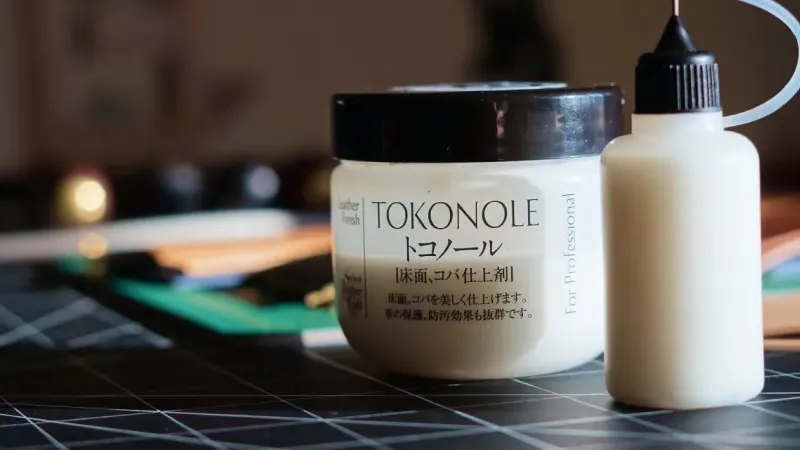
Tokonole burnishing gum
For shiny edges, you cannot do without it: it is the best burnishing gum I know. Start with the white one, which dries clear; it also exists in black.
-
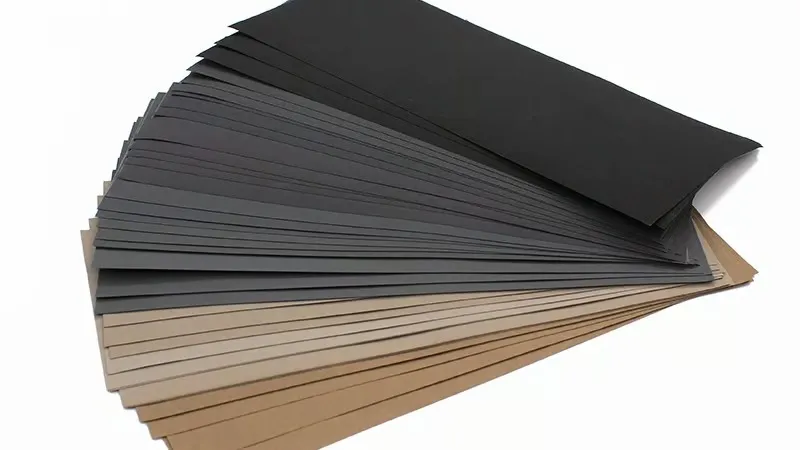
Sanding paper set
No need for every grit: take at least 300, 900 and 2000. They harden and smooth your edges.
Tools that save time
-
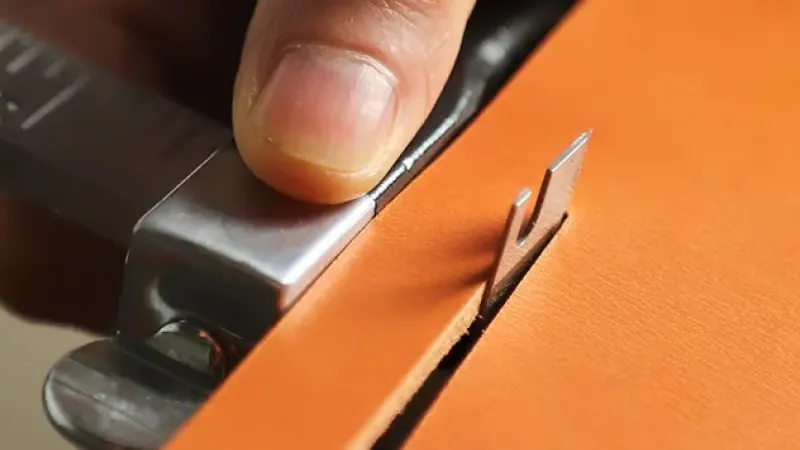
Hand strap cutter, metal
To cut your own straps from a large hide. This one from Wuta comes with replaceable blades and a simple guide ruler.
-
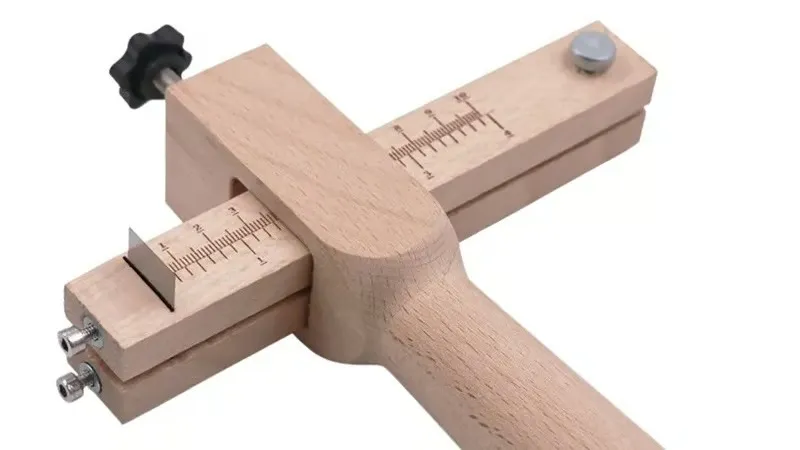
Hand strap cutter, wood
The same tool in wood, if you prefer wooden tools. Not necessarily cheaper, and it also comes with several blades.
-
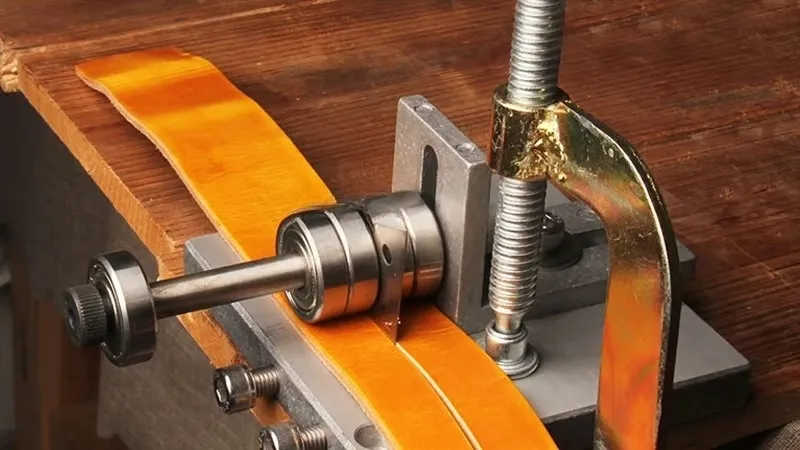
Fixed strap cutter
Same idea, but the tool stays fixed and you pull the leather. It can be harder to handle with large pieces.
-
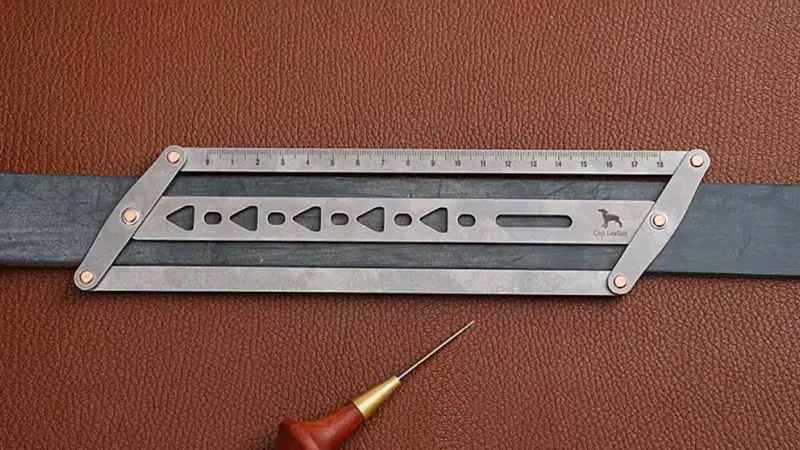
Centering ruler
You can center the holes one by one without it, but it was a game changer for me, even for a dozen belts. Useful for other leather goods too.
-
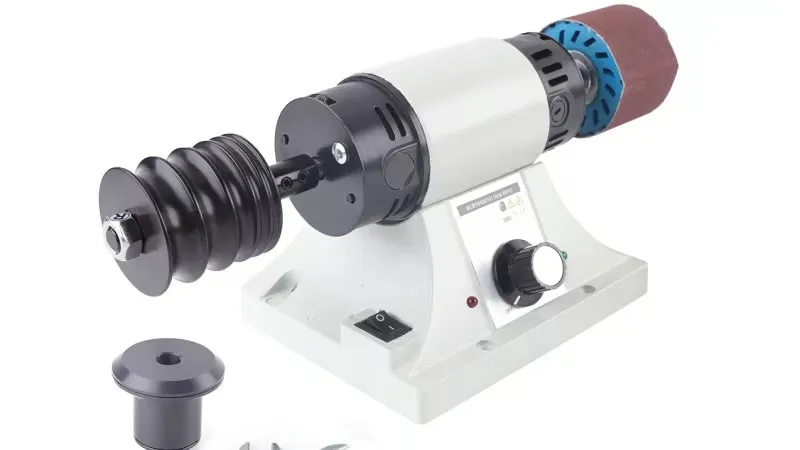
Sanding and burnishing machine
Most of my time on a belt goes into sanding and burnishing, because the edges are so long. A good investment that saves a lot of time.
-
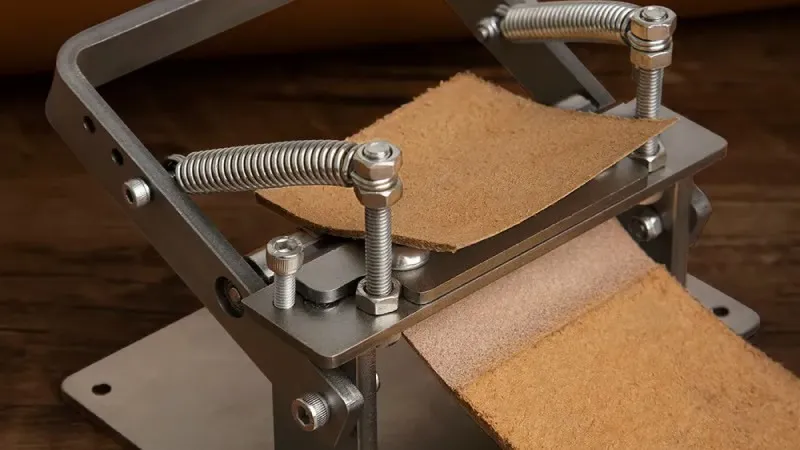
Splitting machine
For thinner belts, or to layer different leathers, you need a clean split. I use one to thin the back where the buckle end folds.
-
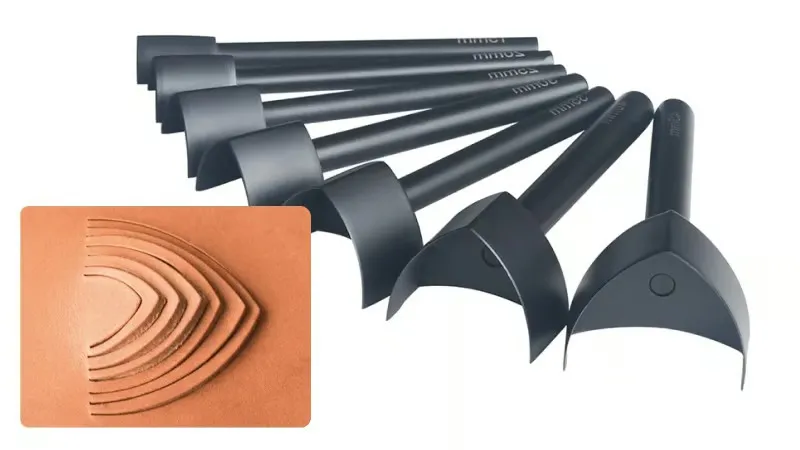
V-shaped end punch
Cuts the tip of your belt in one strike. Not expensive, a clean end, and a lot of time saved. The handle is a nice addition.
-
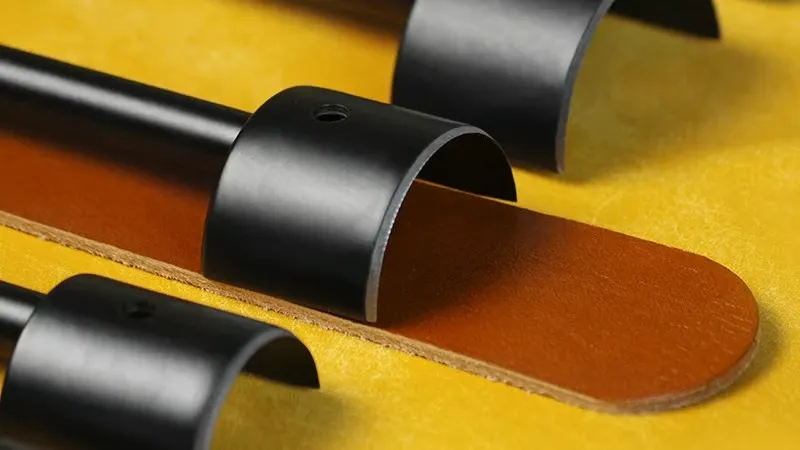
U-shaped end punch
Same use, rounded. I use both: a U for the buckle end and a V for the tip. It also comes with a handle.
-
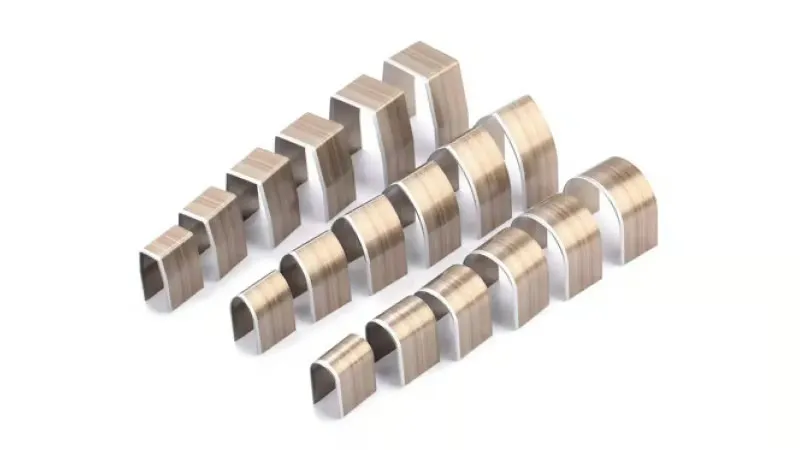
Multi-shape end punch set
More affordable if you are on a budget: 6 sizes in 3 shapes for belts and straps. No handle, but I have used them since the beginning.
Machines for a belt empire
-
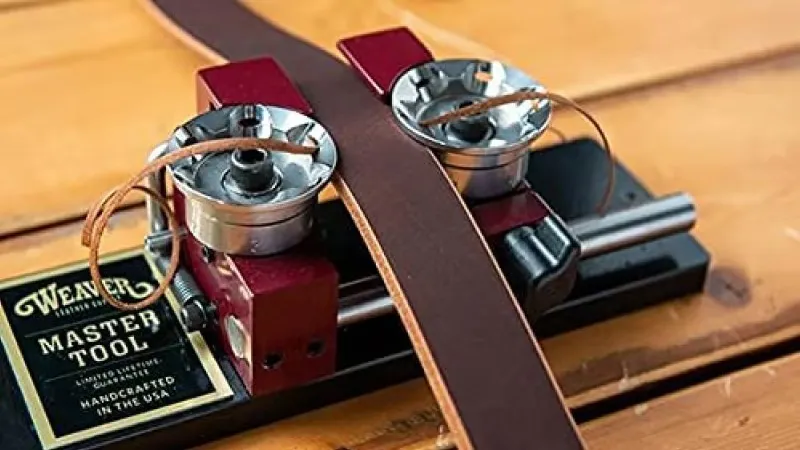
Weaver strap edger
Weaver is known for machines that speed up your work. This one bevels both edges at once: insert the belt, pull, done. I have not tested it myself.
-
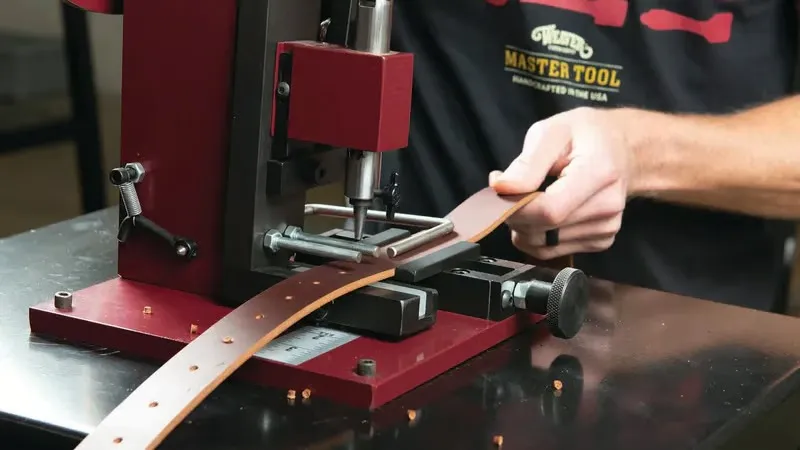
Rotary hole punch
Like a sewing machine for holes: it moves the belt and punches at a regular spacing, centred. A real time saver. I have not tested it myself.
-
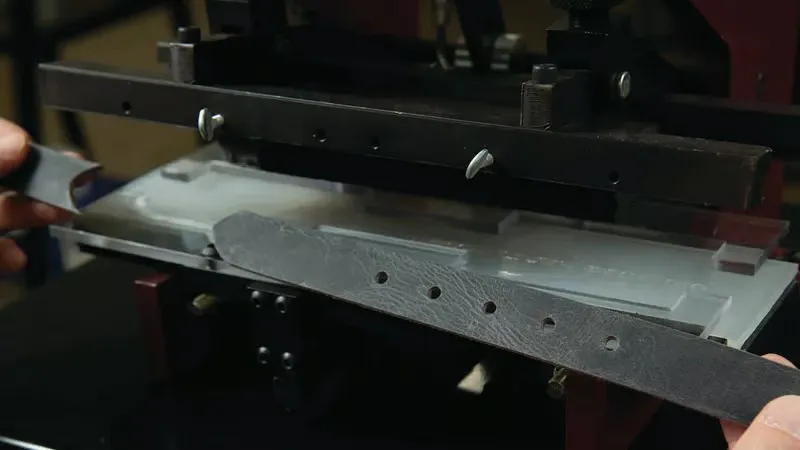
Weaver self-centering punch
Overkill for me, but it exists: it centres the belt end, cuts it and punches the five holes in one go. If you make belts for a living, I understand. I have not tested it myself.
Which leather for a belt?
You want your belt to last and not stretch, while staying comfortable to wear. I recommend a leather 3 to 4 mm thick, with a medium to firm temper. For a two-tone belt, glue two pieces of 1.5 to 2 mm. Need to convert? Here is a mm, oz and inch converter.
To choose the quality, read types of leather explained. And for all my suppliers, see where to buy quality leather.
A strap already dyed
-
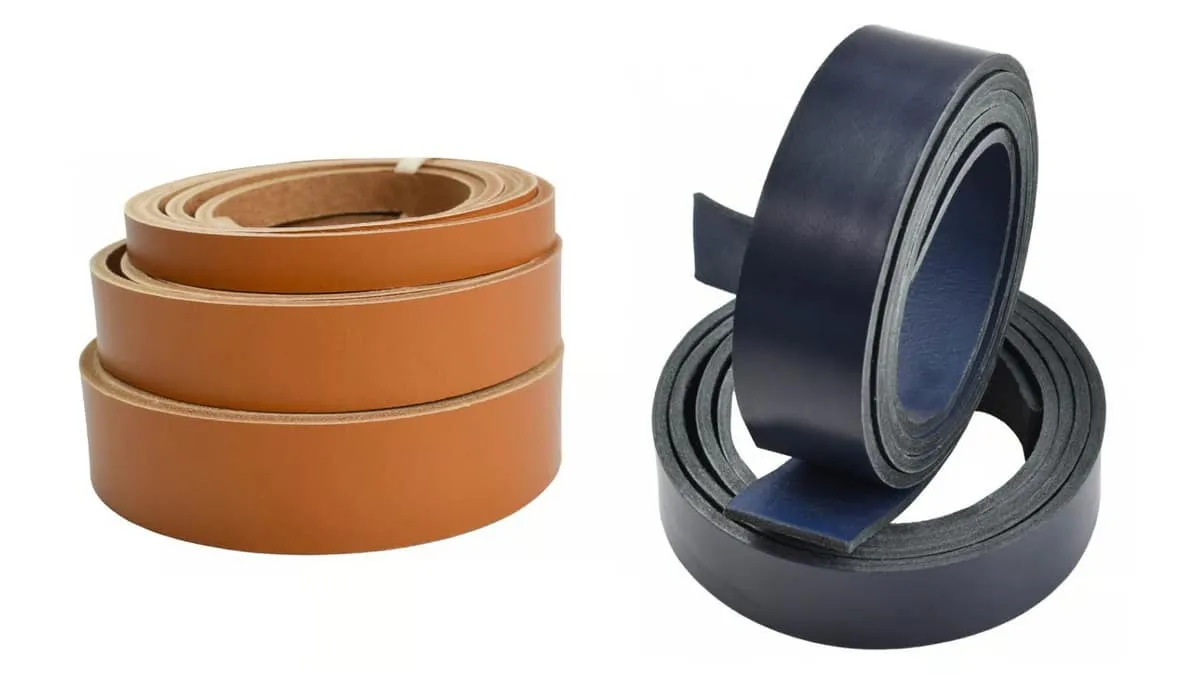
Dyed vegetable-tanned straps
Vegetable-tanned bull butts, premium Italian leather. 4 mm straps are 130 to 145 cm long on average, in several widths, 2 or 4 mm thick.
Buy Leather Online Code LORD7 -
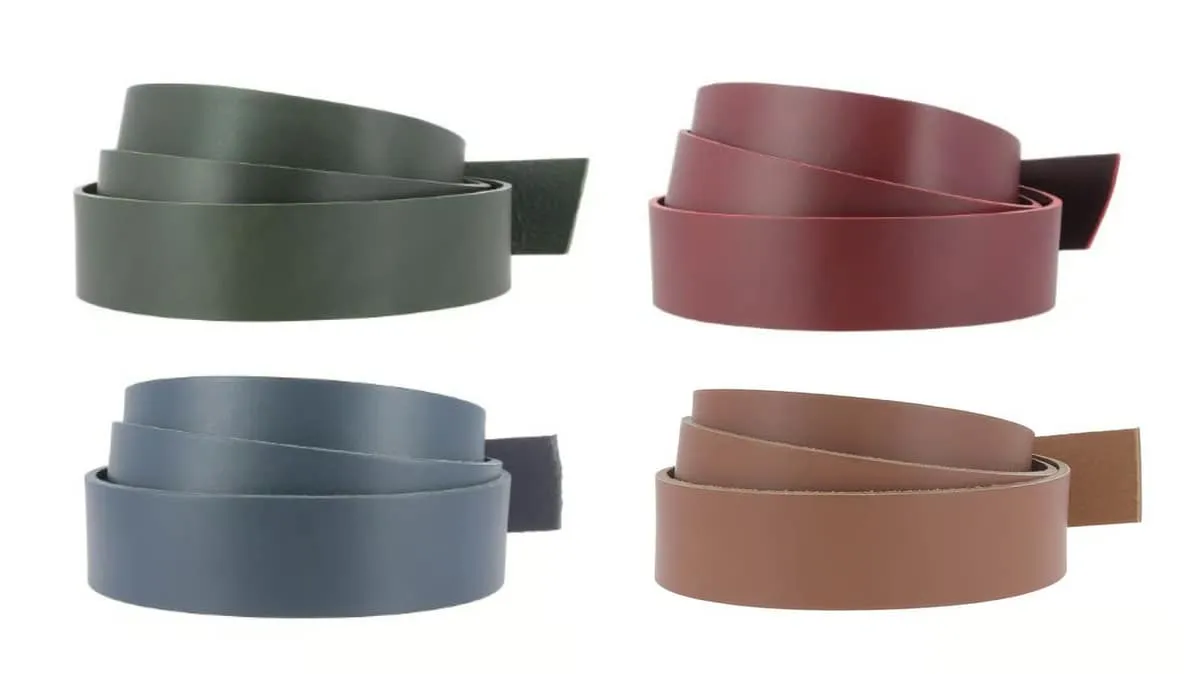
Dyed neck leather straps
Vegetable-tanned cow neck leather, in beautiful colours with slight wrinkles, in several lengths and widths. More colours under “lanière cuir de collet” in their search.
A natural strap to dye yourself
-
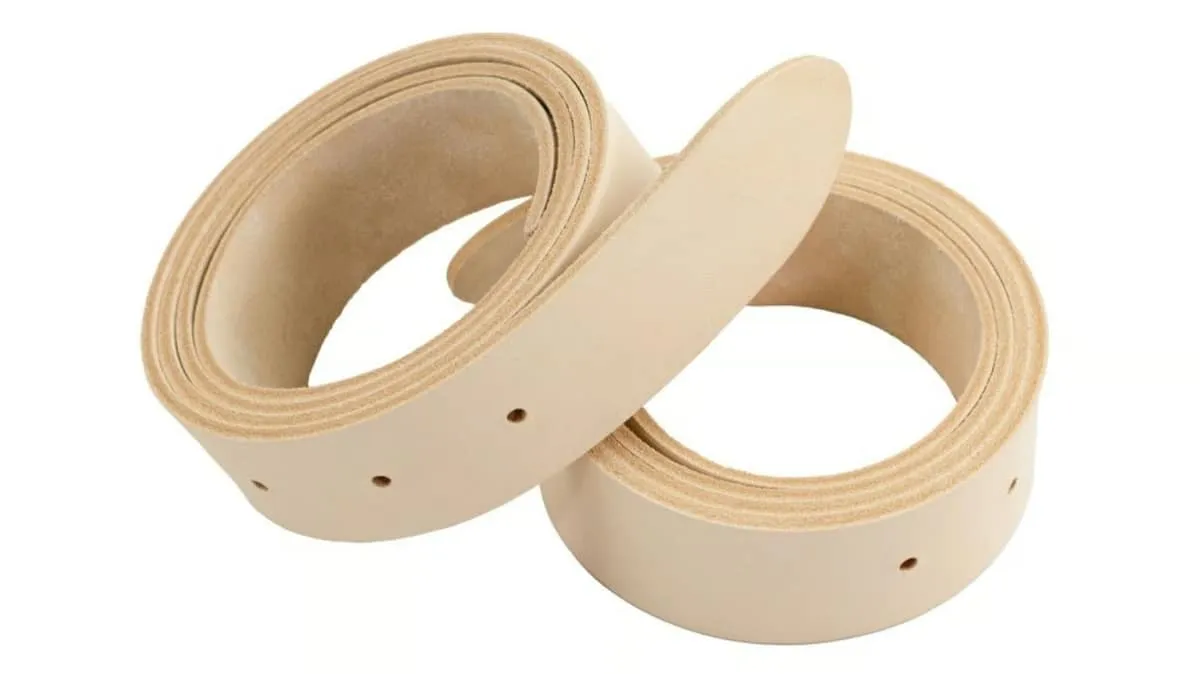
Pre-shaped natural belt blank
Vegetable-tanned bull leather, made in Italy: 130 to 145 cm long, 3.5 cm wide, 3.8 mm thick. It comes with 5 holes and a blunt end, ready to dye or engrave.
Buy Leather Online Code LORD7 -
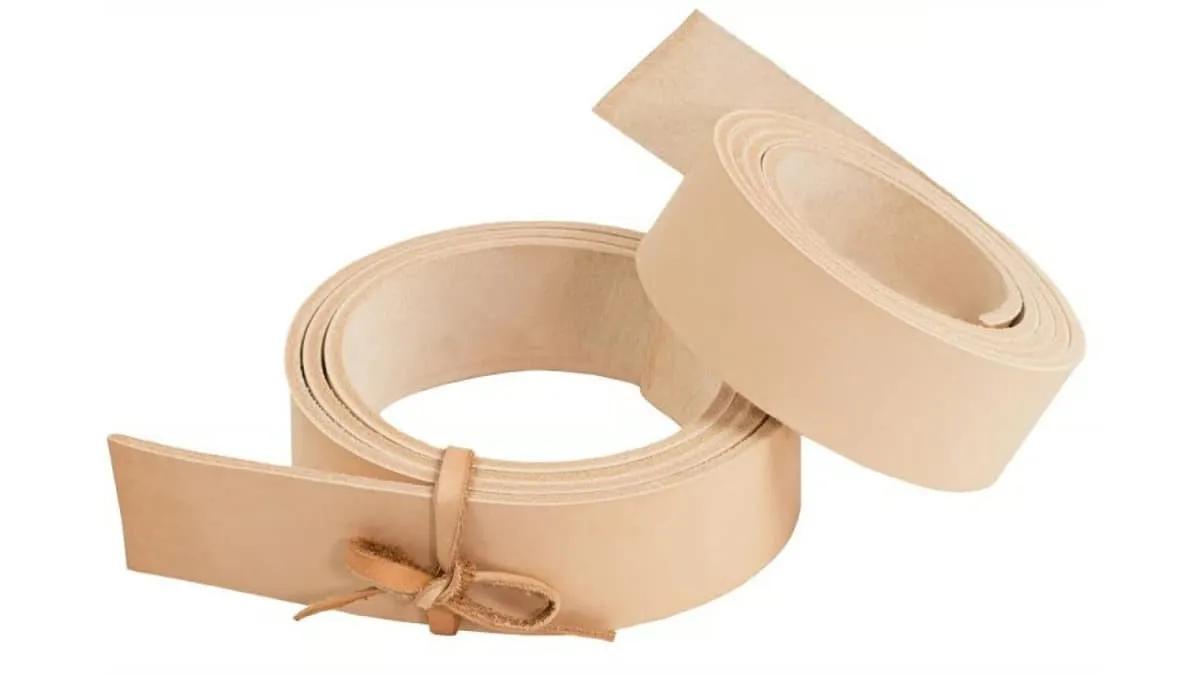
Natural belt strap
Vegetable-tanned bull butts, premium Italian leather, 130 to 145 cm long, 2 or 4 mm thick, in several widths. No holes and no shaped end: dye or engrave it as you like.
Buy Leather Online Code LORD7 -
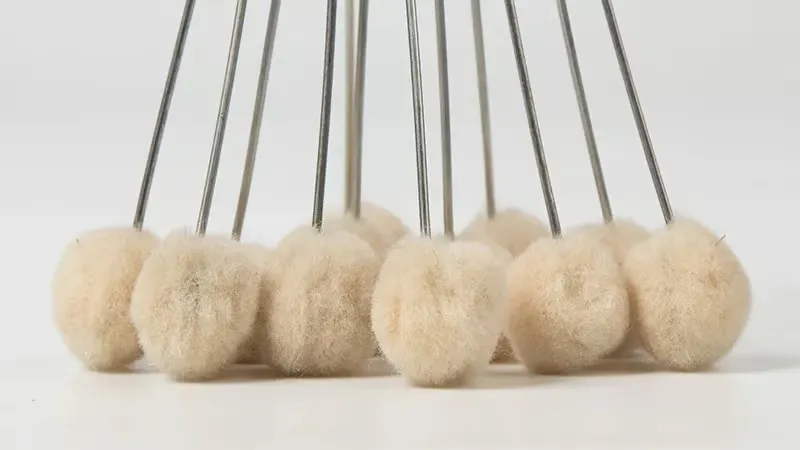
Wool dye applicators
With natural leather, you dye it yourself. These daubers are good for small amounts of dye. Classic sponges also work.
-
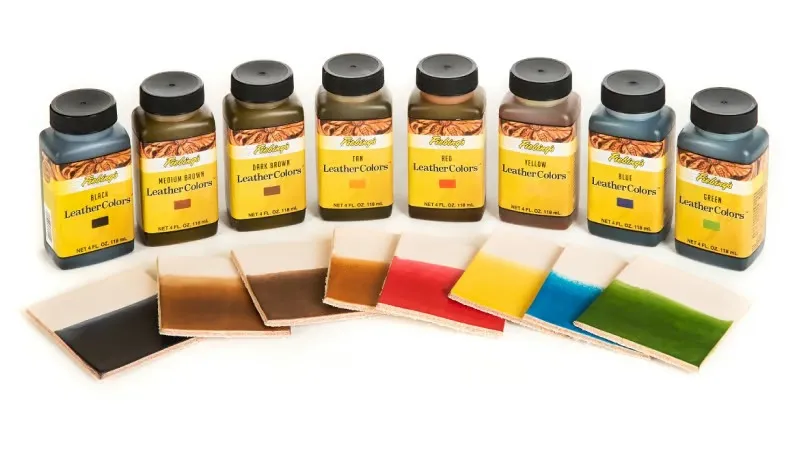
Fiebing’s leather dye
The best known alcohol-based penetrating leather dye. For vegetable-tanned or unfinished leather. It dries evenly and mixes easily for in-between shades.
A hide, to cut the straps yourself
-
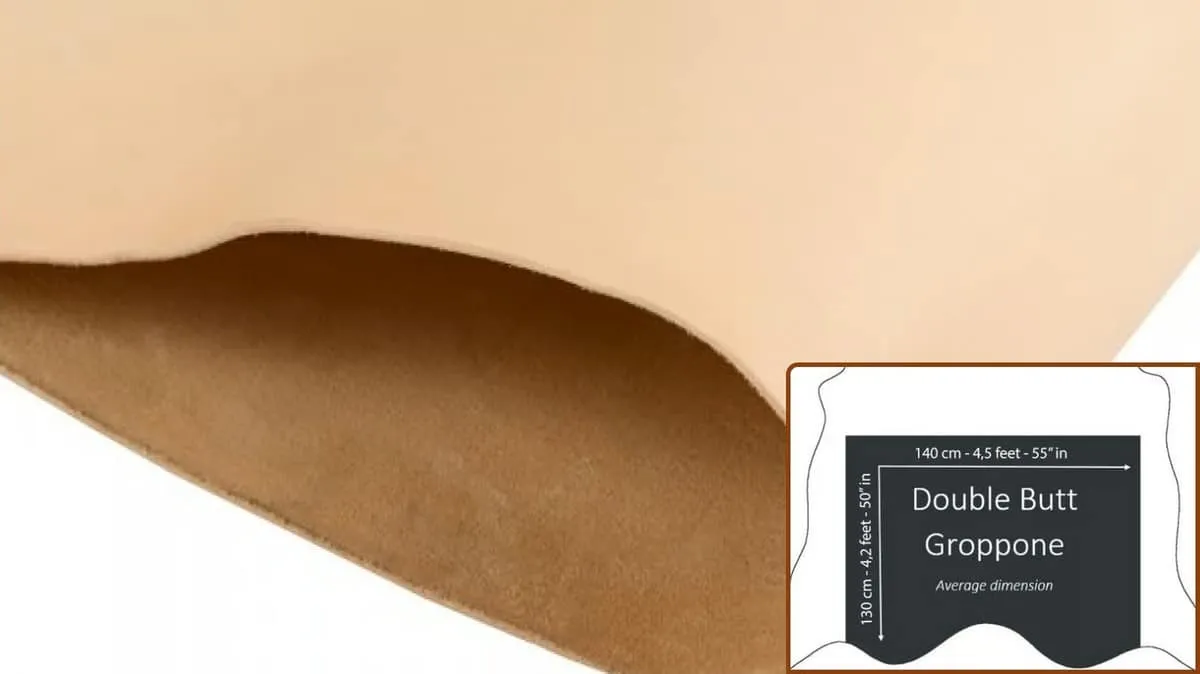
Natural veg-tan double butt, 4 mm
Vegetable-tanned bull double butt (bend), B or C grade, with a very good quality to price ratio. Keep it natural or dye it the colour you need.
Buy Leather Online Code LORD7 -
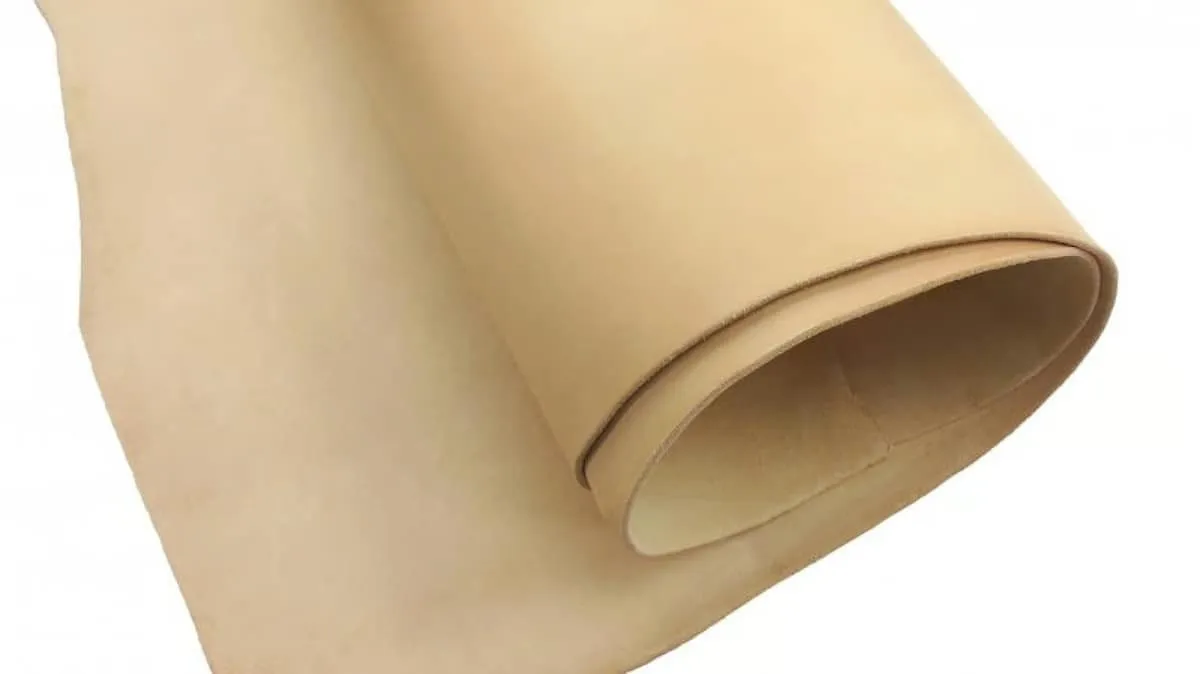
Natural veg-tan shoulder, 3.5 mm
European bull leather, natural square shoulder, first grade, with a very good quality to price ratio. Keep it natural or dye it.
Buy Leather Online Code LORD7 -
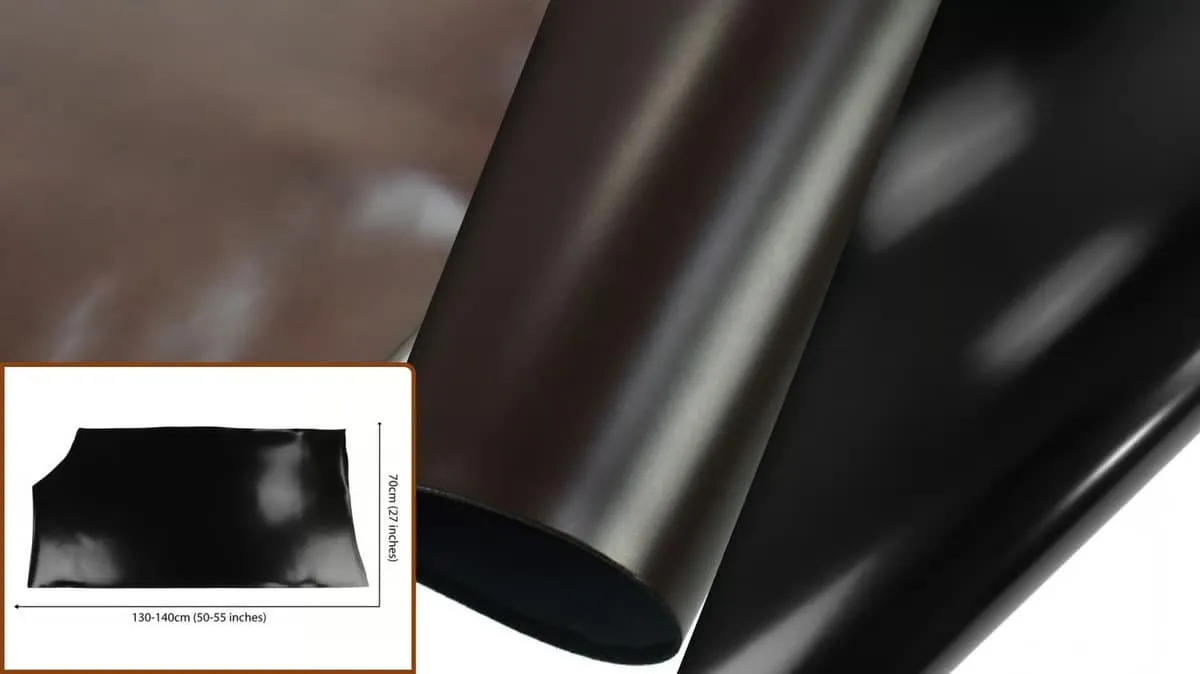
Luxury brush-off aniline butts
Single butts with a brush-off aniline effect, belt-sized, used by Italian fashion brands. Three colours.
Buy Leather Online Code LORD7
Hardware: buckles and screws
Buckle types, screws, rivets: here is what I use most of the time.
-
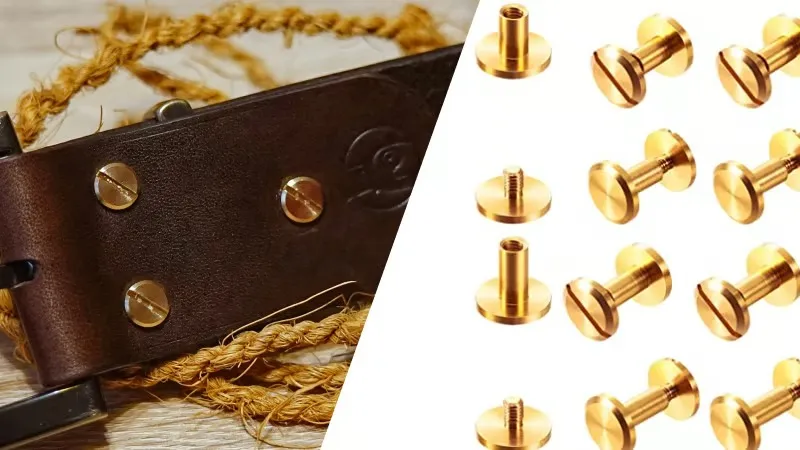
Chicago screws
I love them: easy to install, almost unbreakable, with a clean professional look. Most stock comes from China; for larger quantities, try these two stores.
-
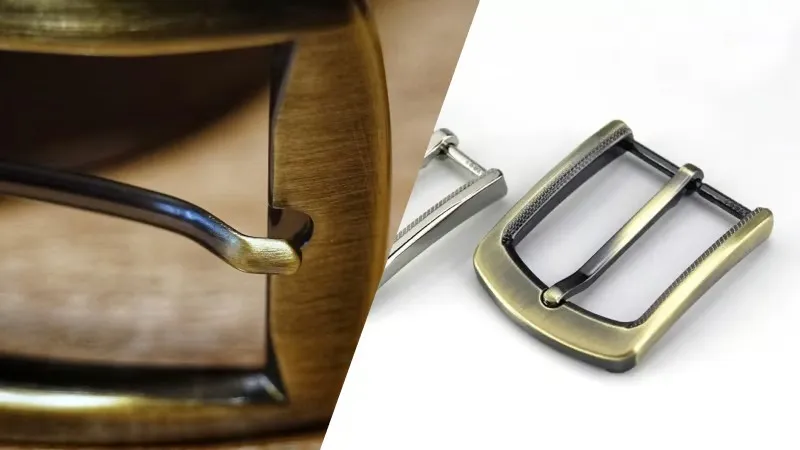
Prong buckle
The classic. Many shops sell them; I tried these two stores and they were good.
-
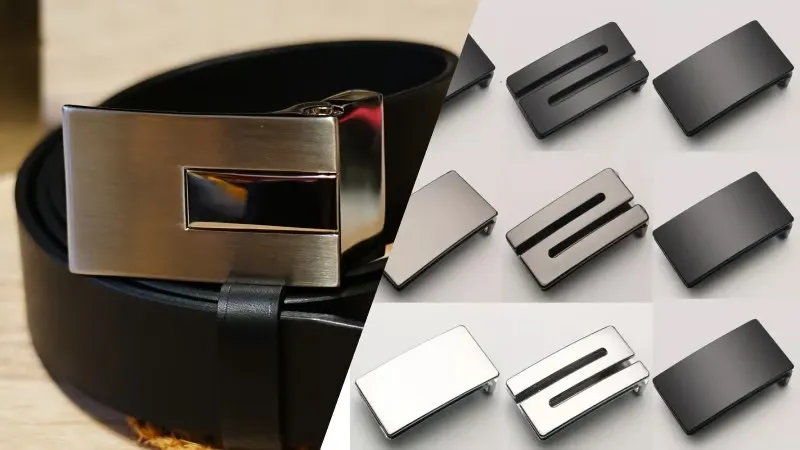
Claw buckle
A small metal tip goes into a hole, often with a clamp that bites the leather. Plain or decorated front.
-
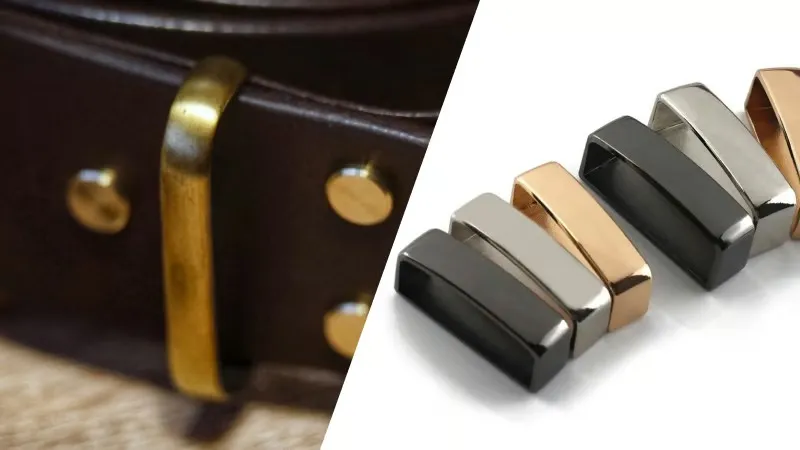
Belt loop
The long loop keeps the tip of the belt flat along the strap, without a bump at the front.
Questions about belt making
Do I need every tool on this page to make a belt?
No, absolutely not. To try, focus on the first list, and only that one: good tools for their price. If you make more belts later, come back for the other lists. They cost more, but you will work faster and more accurately.
Should I buy a starter kit on Amazon or AliExpress?
I do not recommend them. I made that mistake: today I still use 2 tools out of a set of 25 poor ones. Follow the first list instead; many of these tools also work for other leather goods.
Do you have a template to draw my first belt?
Yes: the belt template gives you three widths and four end styles.